
Set-Up Guide for Ocean Breeze Kits
Setup Progress
0 of 11 steps completedTank Assembly
Set up your Ocean Breeze nano tank
Begin by placing your Ocean Breeze nano tank on the stand. This tank features a built-in filtration system and is designed for easy maintenance while providing optimal water circulation.
Instructions:
- Carefully remove tank from packaging and inspect for damage
- Place tank on a level, sturdy surface away from direct sunlight
- Ensure the back filtration chambers are clean and free of debris
- Check that the return pump area is accessible

Return Pump Installation
Install the circulation pump
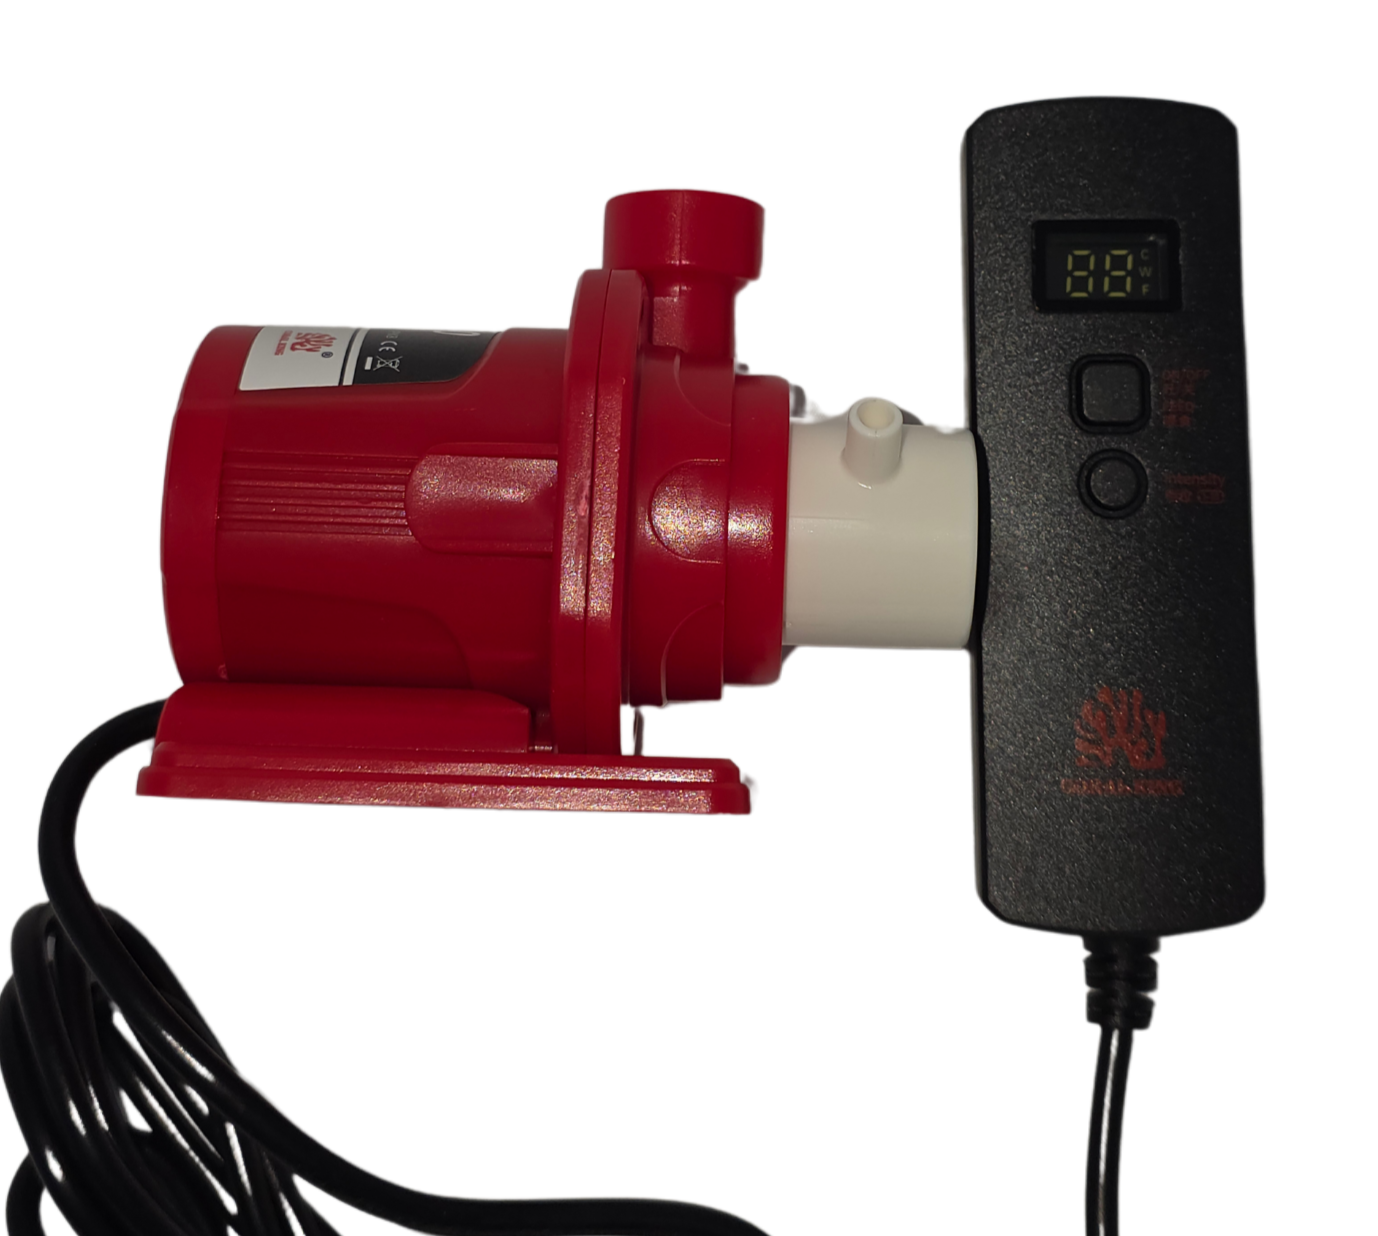
Install the return pump to create proper water circulation between the filtration chamber and main display area.
Instructions:
- Attach the return plumbing and place pump in the return chamber (rightmost back chamber)
- Ensure pump sits flat on chamber bottom
- Connect power cord to remote - do not plug in yet
- Screw on the output nozzle threaded through the hole

Dry Rock Structure & Sand
Create your reef foundation
Dry rock provides the foundation for your reef ecosystem. It's pest-free and allows you to control the cycling process while providing natural biological filtration. While Live sand is usually pest free and can help speed up the cycling process.
Instructions:
- Rinse dry rock thoroughly with fresh RODI water
- Arrange rocks On bottom glass first to prevent burrowing creatures from knocking over rocks later on.
- Next add a layer of sand covering the botttom with 1-2 inches of depth.
- Next finish rock structure, while leaving space between rocks for water circulation
- Create multiple levels for coral placement variety

Filter Media Setup
Mechanical filtration preparation
Filter floss in the media cup provides excellent mechanical filtration by trapping debris and particles, keeping your water crystal clear.
Instructions:
- Locate the media cup in the first filtration chamber
- Add filter floss to the media cup
- Ensure floss fills the cup but isn't packed too tightly
- Allow water to flow through the media easily

RODI Water System
Pure water preparation
RODI (Reverse Osmosis Deionized) water is essential for marine aquariums as it removes harmful chemicals, chlorine, and dissolved solids that can harm marine life.
Instructions:
- Connect RODI system to cold water supply
- Allow system to flush for 10-15 minutes initially
- Test output water with TDS meter (should read 0-2 ppm)
- Fill tank with RODI water to desired level
- Replace filters as recommended by manufacturer

Salt Mix Preparation
Create the perfect marine environment
Quality salt mix is crucial for creating the proper marine environment. Use a reputable reef salt that contains essential trace elements and maintains proper alkalinity.
Instructions:
- Use high-quality reef salt mix (avoid aquarium salt)
- Mix in separate container with powerhead for designated time based on manufactures instructions.
- Test salinity with refractometer (target: 1.025 SG)
- Adjust temperature to 78-80°F before adding to tank
- Test salinity again and adjust if necessary
Heater Installation
Maintain optimal temperature
Maintain a stable temperature between 78-80°F for optimal coral and fish health. The controllable heater provides precise temperature regulation.
Instructions:
- Never operate heater outside of water
- Always unplug before handling
- Set temperature only when submerged
- Allow 15 minutes to acclimate before plugging in

LED Light Setup
Illuminate your reef
Mount the LED light to the front of the filter compartment and program your desired lighting schedule using the touch-sensitive remote.
Instructions:
- Recommended schedule: full spectrum from 9 am to 8 pm

Final System Check
Complete your setup
Perform final checks and begin the cycling process. Your Ocean Breeze nano aquarium is now ready to establish its biological filtration system.
Instructions:
- Test all equipment is functioning properly
- Verify water temperature is stable at 78-80°F
- Check salinity is at 1.025 specific gravity
- Add bacterial starter culture to begin cycling
- Monitor ammonia, nitrite, and nitrate levels daily
- Wait 4-6 weeks for complete cycle before adding livestock

Protein Skimmer
Advanced filtration setup
Install the protein skimmer after your tank has completed its cycle. Place it in the first chamber for optimal performance with higher water levels.
Instructions:
- Wait until cycle is complete
- Place in first chamber (recommended)
- Insert screws into corresponding holes
- Attach to side or back glass
- Adjust height of main tube
- Fine-tune foam production

Mesh Lid Kit
Final protection installation
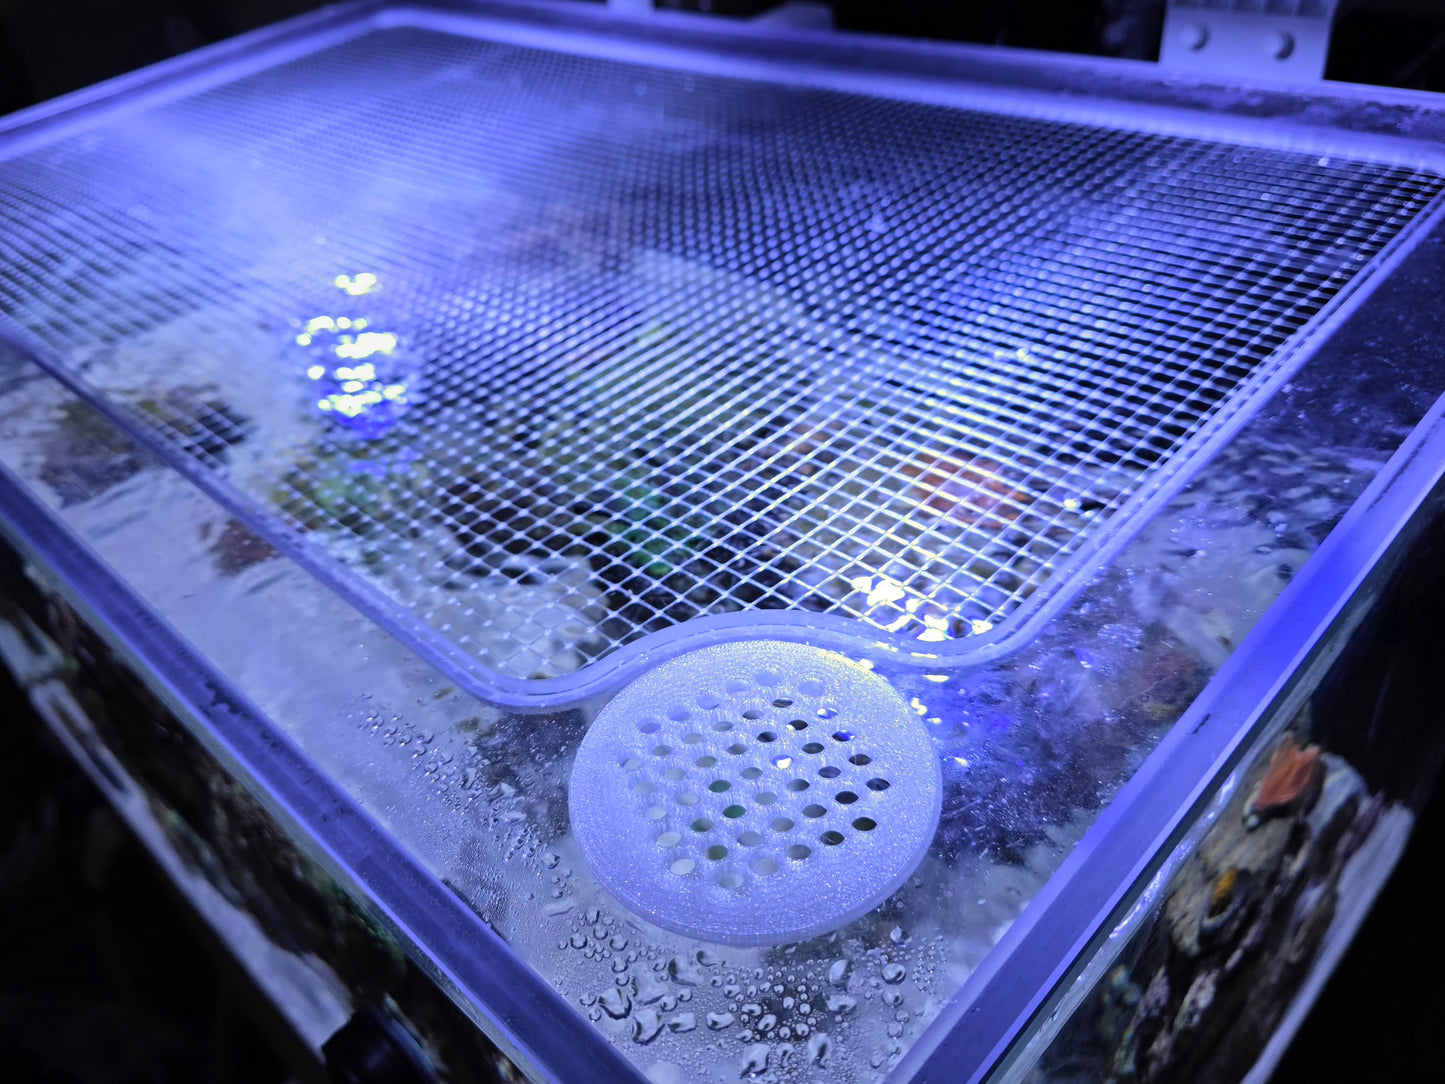
The mesh lid prevents fish from jumping out while allowing proper gas exchange and easy access for maintenance.
Instructions:
- Position mesh lid over tank opening
- Ensure proper fit around equipment
- Secure clips to tank rim
- Remove excess mesh on lid
- Install feeding door if wanted however it may block light spread.




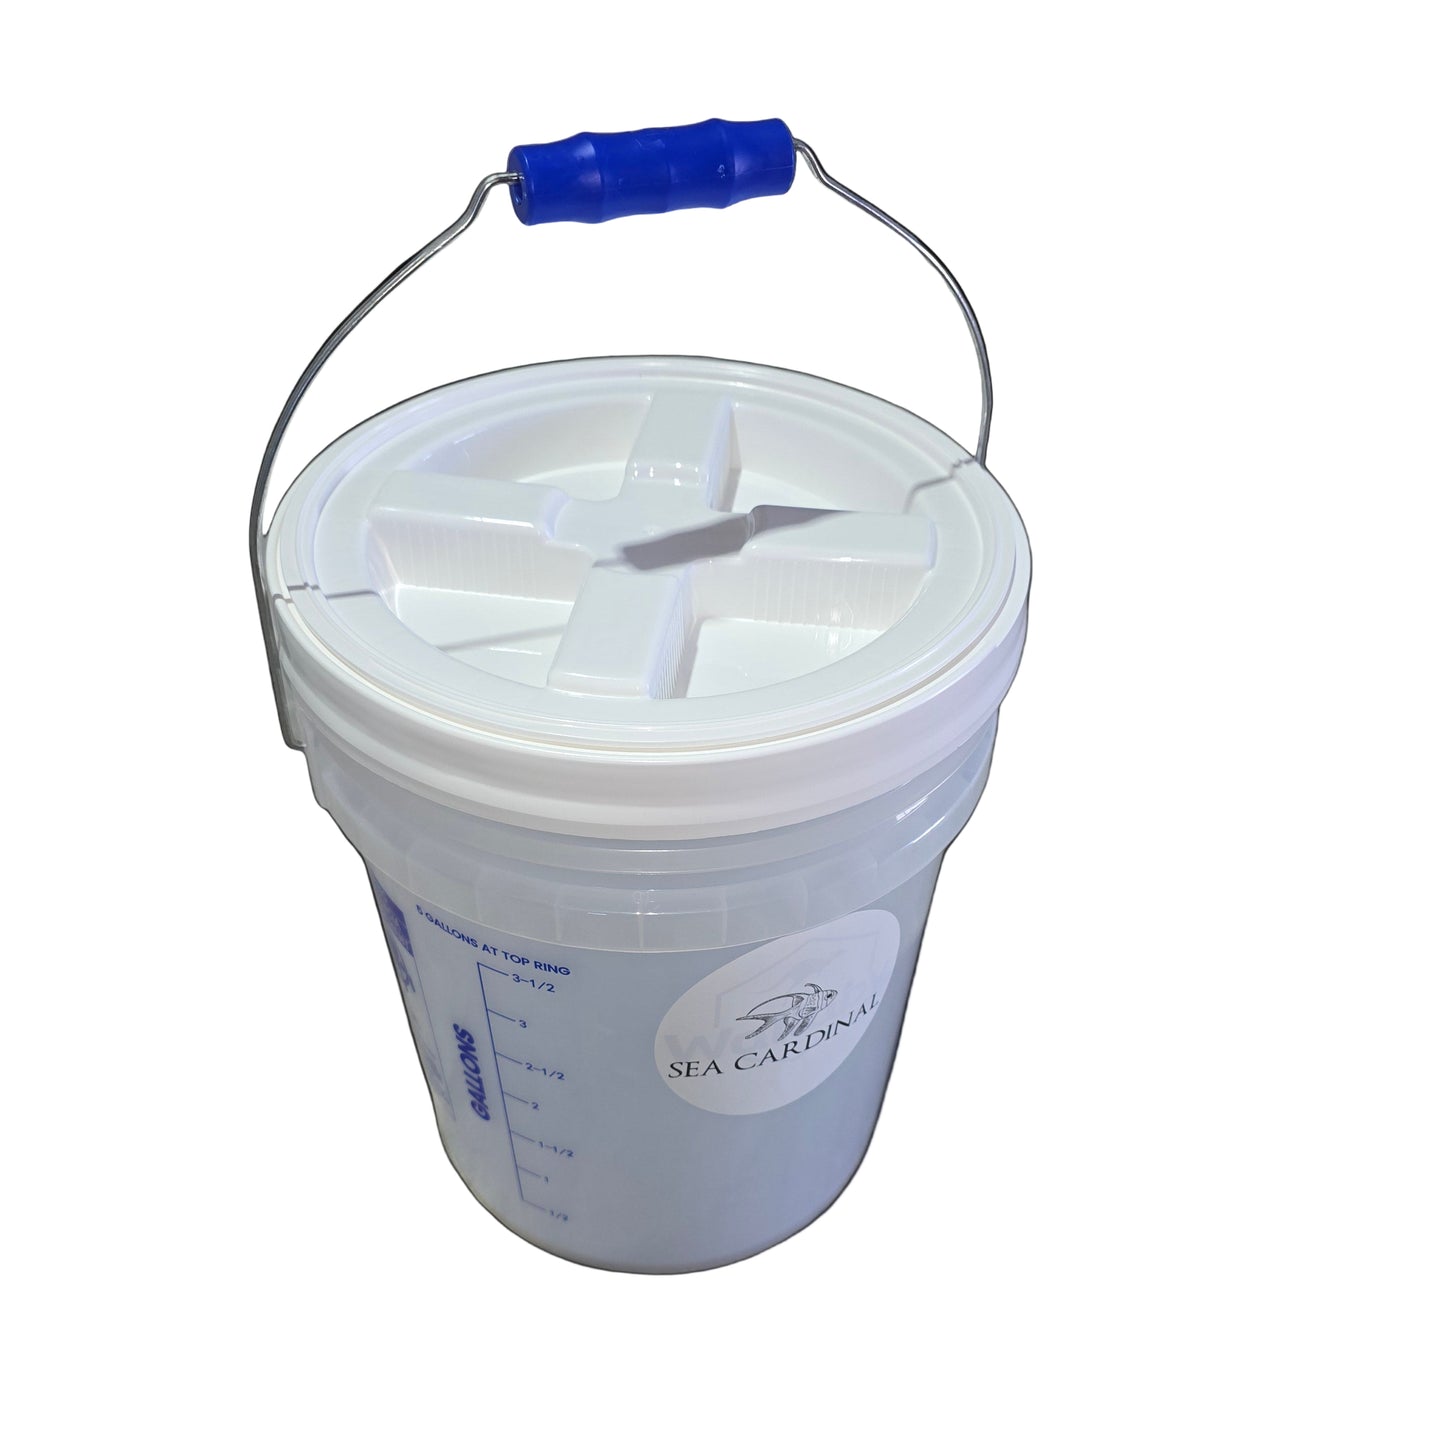

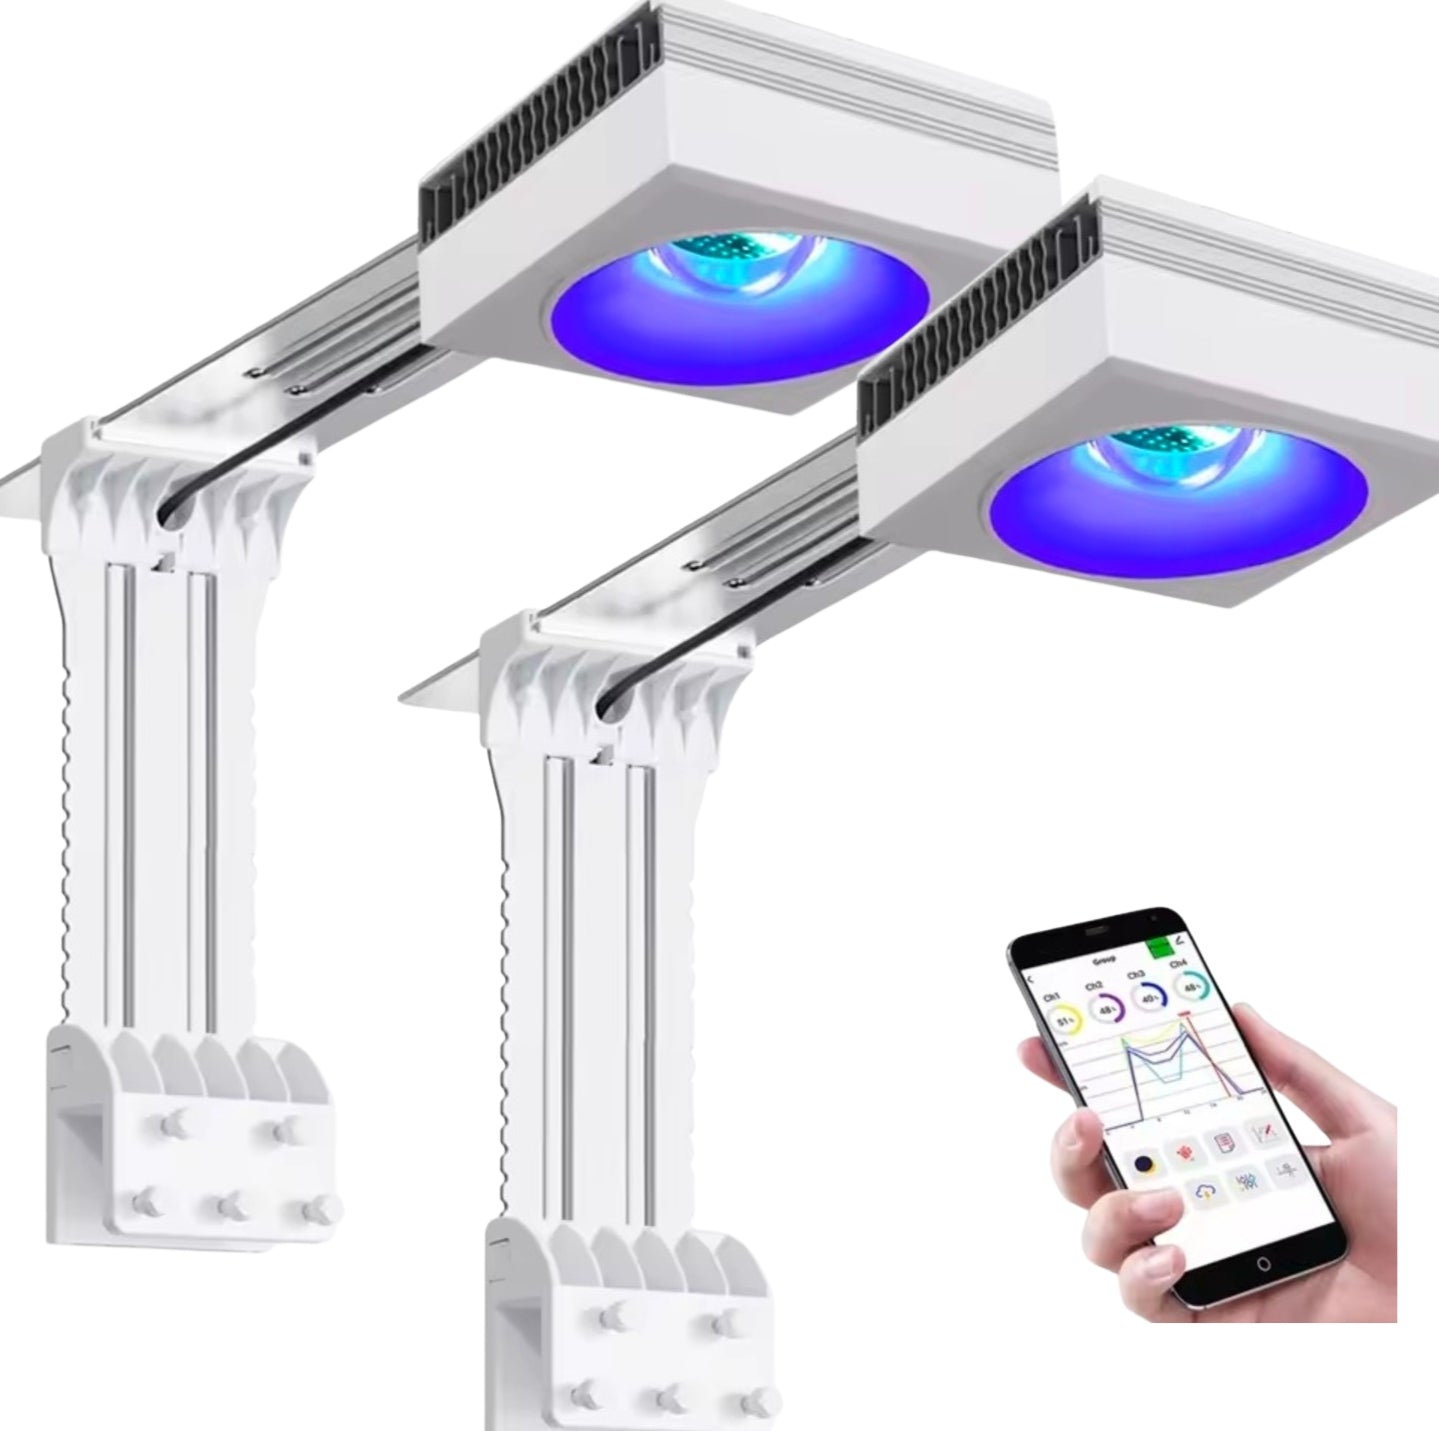

What is included with our 50 Gallon Reef Ready Kits?

50 Gallon All-In-One Aquarium and Cabinet

DC Controllable Variable Speed Return Pump

DC Controllable Variable Speed and Rhythym Wavemaker

DC Controllable Protein Skimmer Pump and Chamber

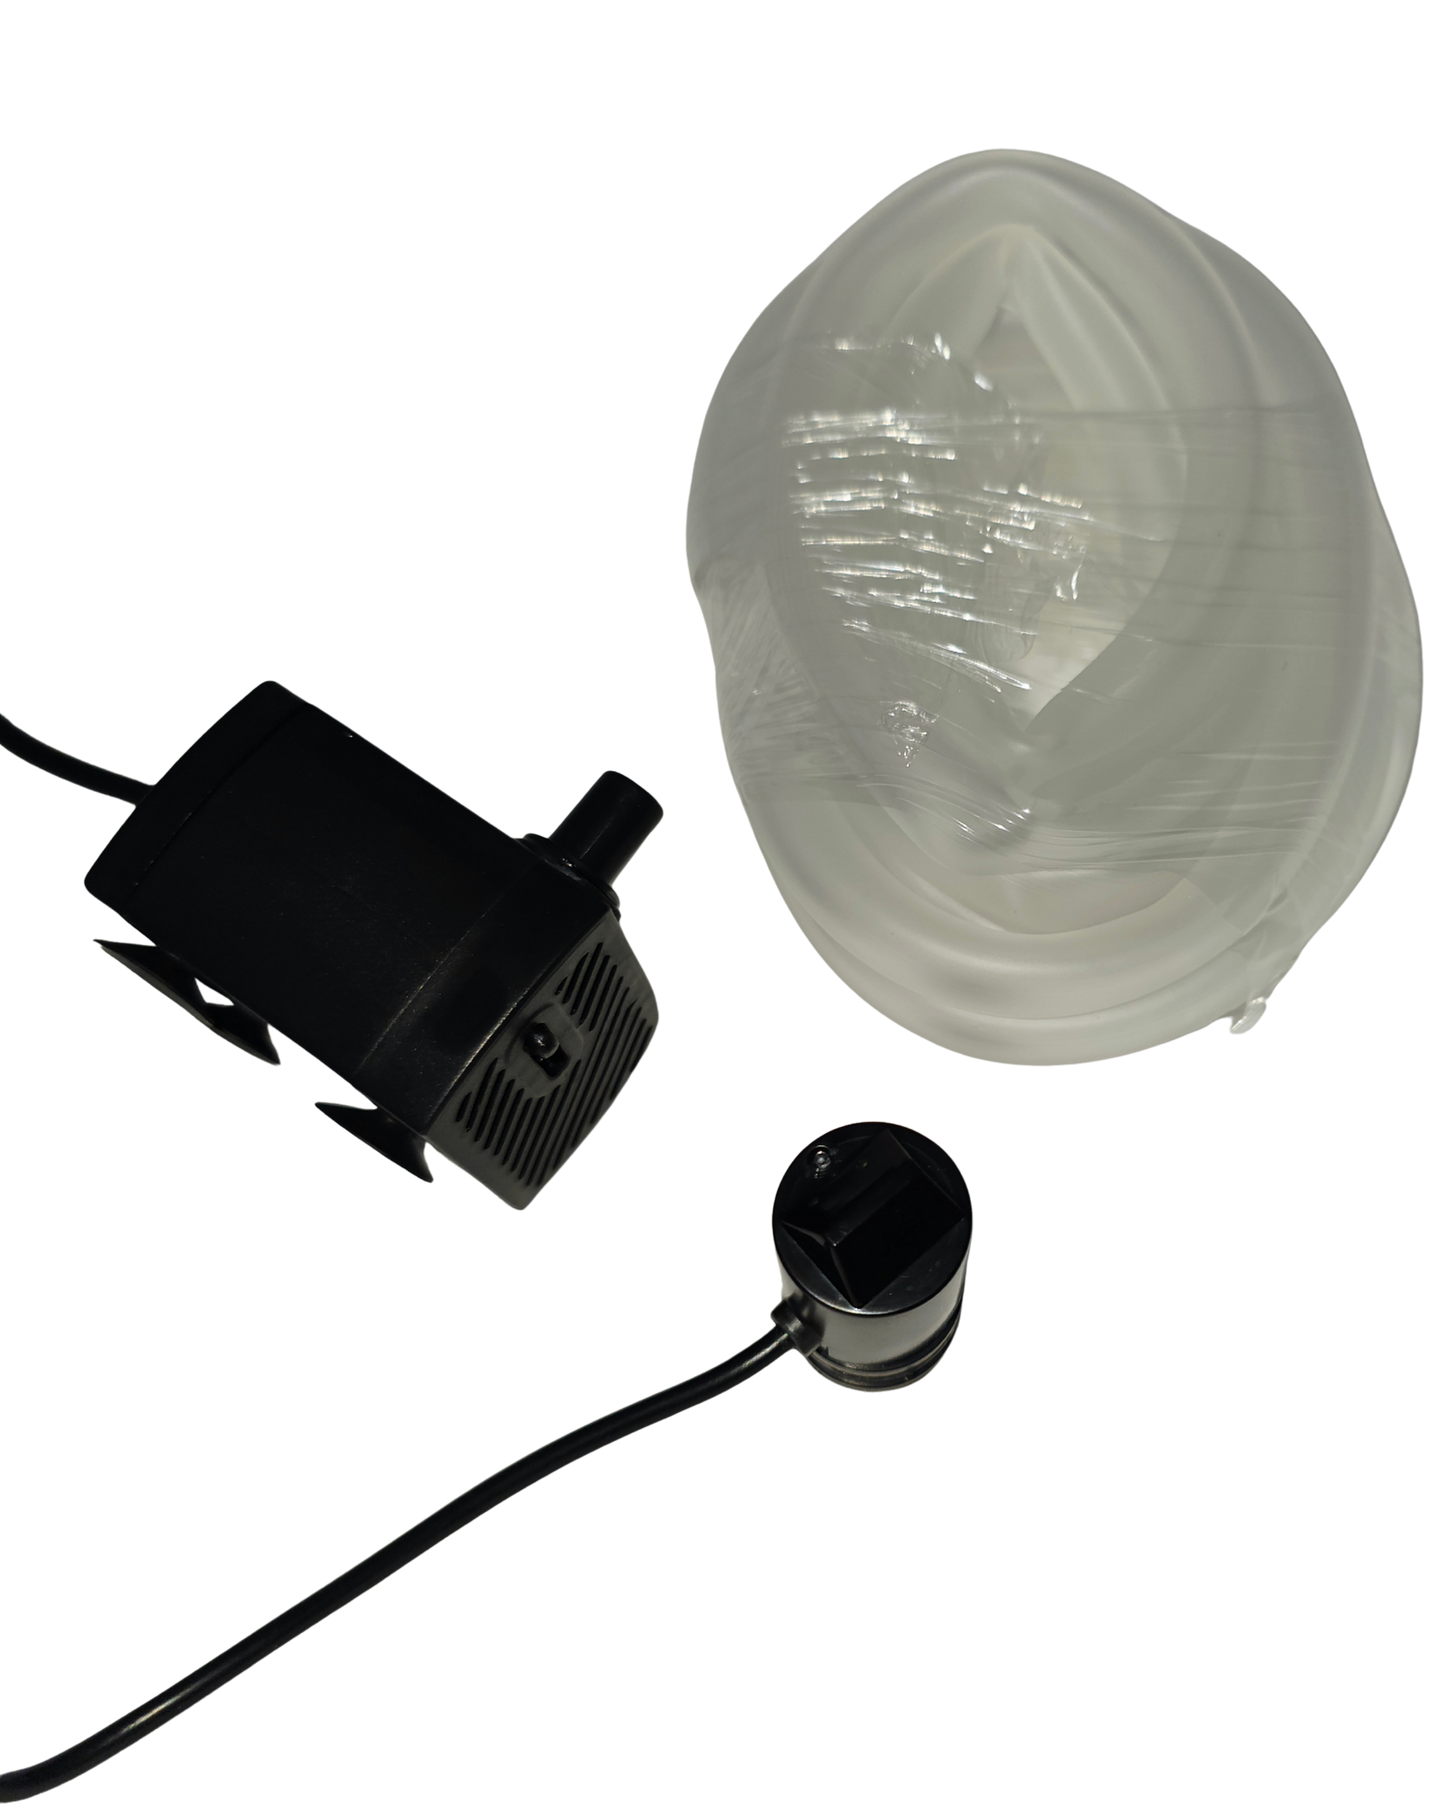
Automatic Top Off Sensor, Tubing, & Pump

300W Quartz Tube Adjustable Heater

& Much More Incuded
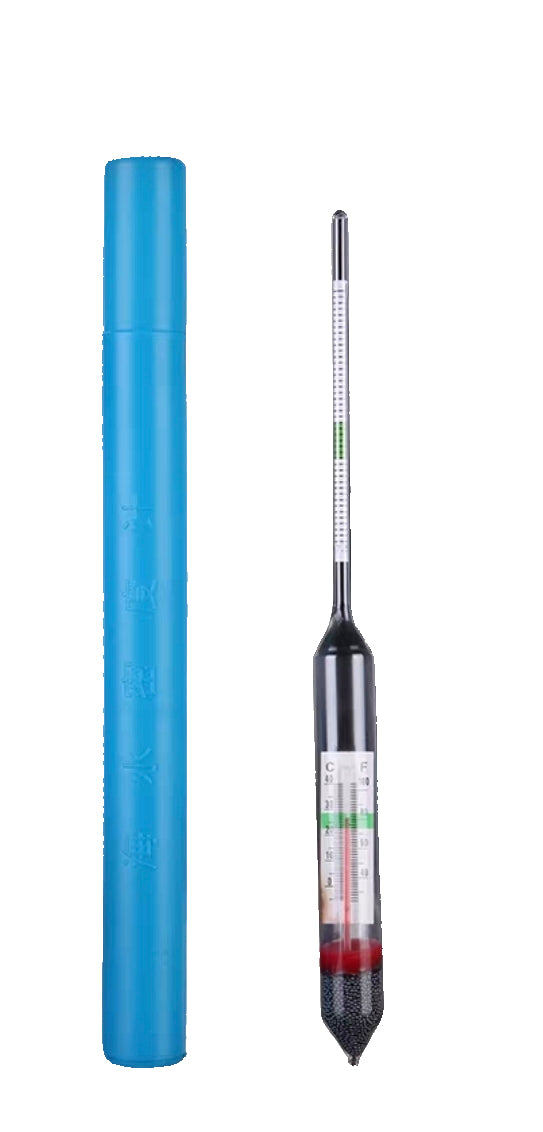
Hydrometer, 5-gallon Bucket, Reef Glasses, Salt Measuring cups, 2 large resealable bags of reef salt, and a Mini-Bucket with frag holder for bringing home corals.

Optional Add-Ons to Take your Tank to the Next Level
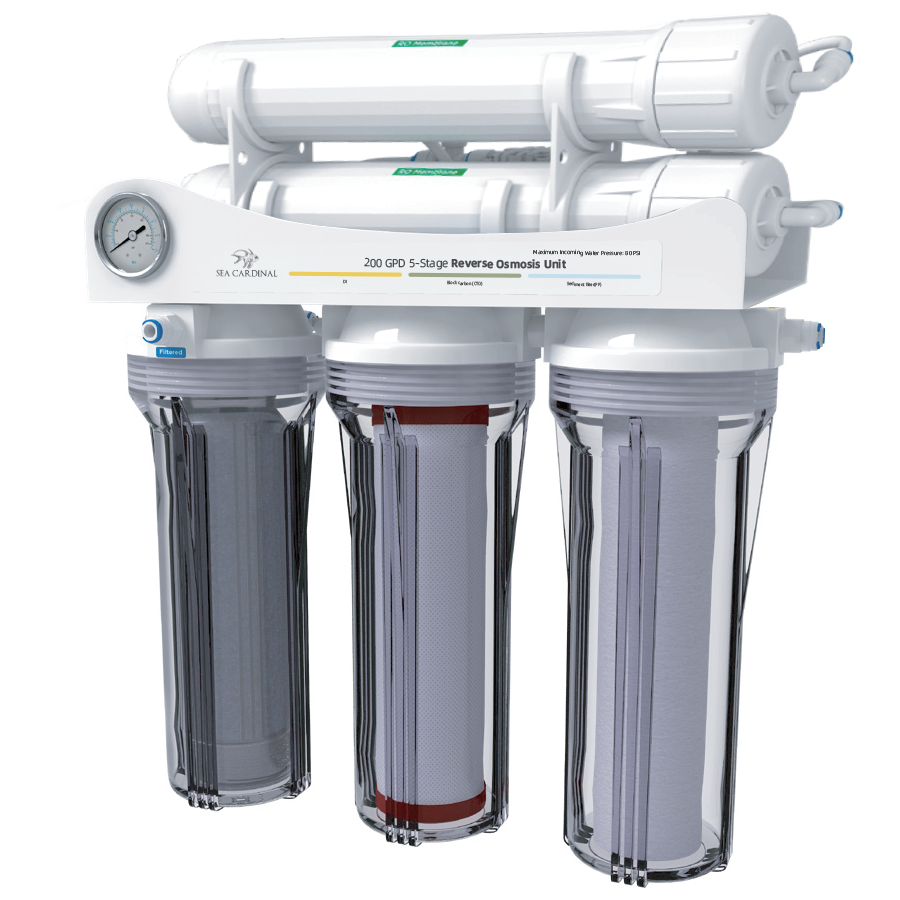
2 PopBloom RL90 LEDs, Automatic Filter Roller, Polycarbonate precise fit lid, and (or) a 200GPD RODI Filter with TDS meter delivering pristine water for your aquarium.